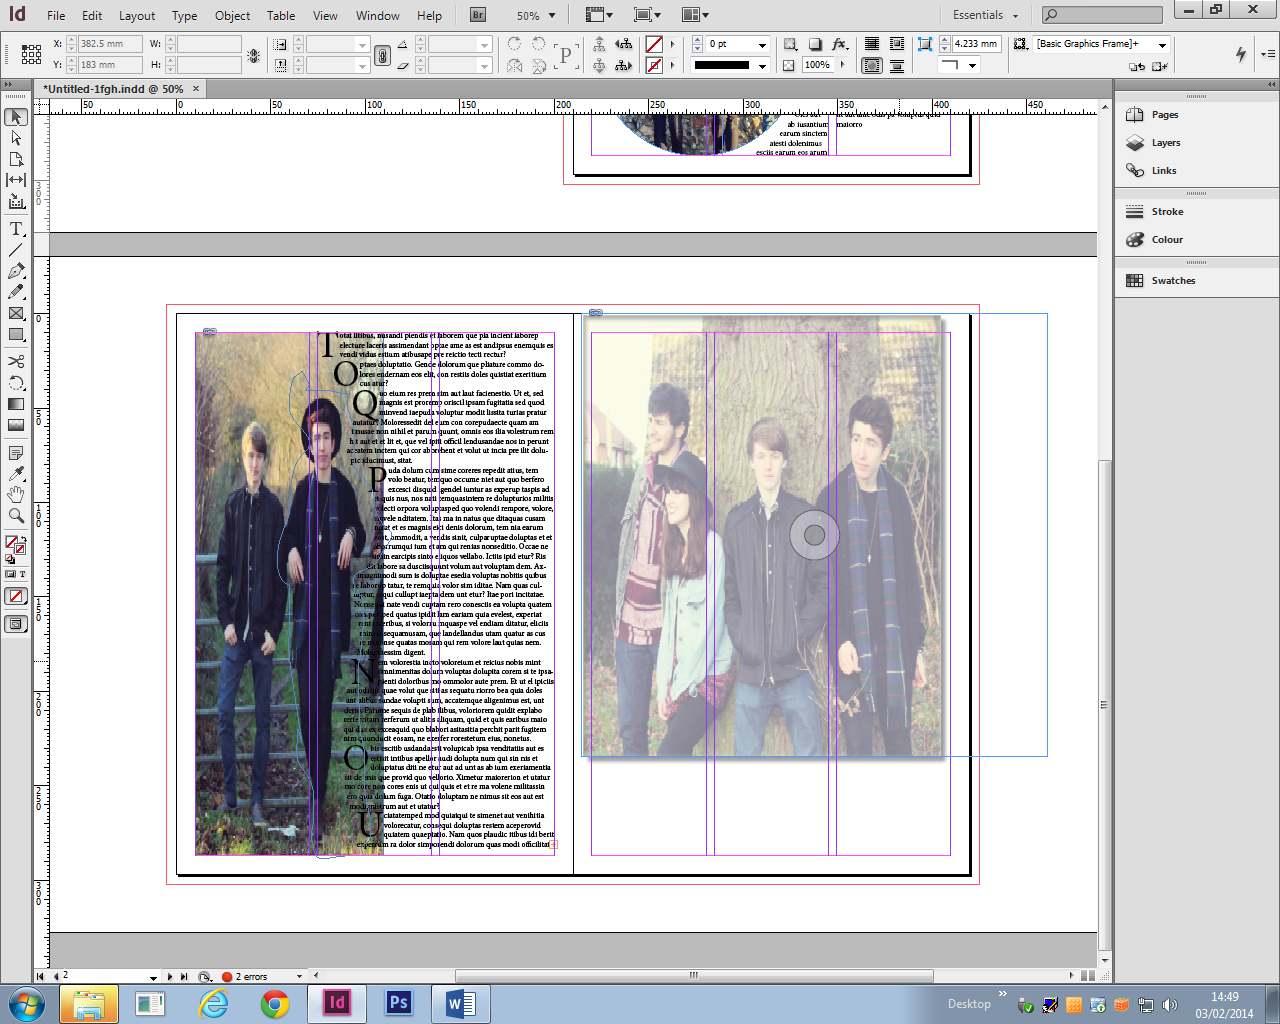
Today we had a visit from a graphics designer to help us with indesign.
- Image- You can add an image to your indesign by dragging the file onto the page and clicking the location you want it. A blue line will then appear which is the frame of the image, then if you click the circle in the middle a red line will appear, which means you can adjust the image. Another way to do this is to press Shift,Ctrl and Alt which allows you to re-size the image and its frame to the correct proportion without cropping any of it.
- Opacity- Right click the image, press effect and then transparency. You can then adjust the level of opacity by typing it.
- Text- You can add text to your page by pressing the T button located on left toolbar then draw your textbox and type. To add random text so you can see what your page will look like, you press Type, then scroll down to the bottom to find the placeholder button.
- Image in circle- To have an image inside a circle, you firstly draw the circle, which is the ellipse tool on the toolbar and then drag the image file into the circle.You can also move and adjust it like before.


No comments:
Post a Comment